
Installation & Setup Guide
To start receiving payments, add cryptocurrency addresses to your Paycryptohost account. These addresses receive the payments for the coins you enable.
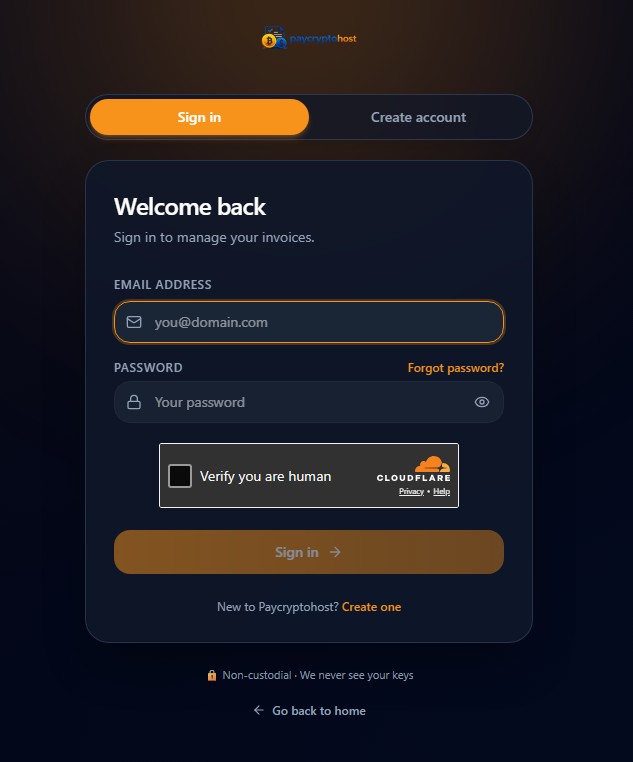
1. Sign in to Paycryptohost
Sign in with the account you created. New here? Create an account first.
2. Open Settings & add branding
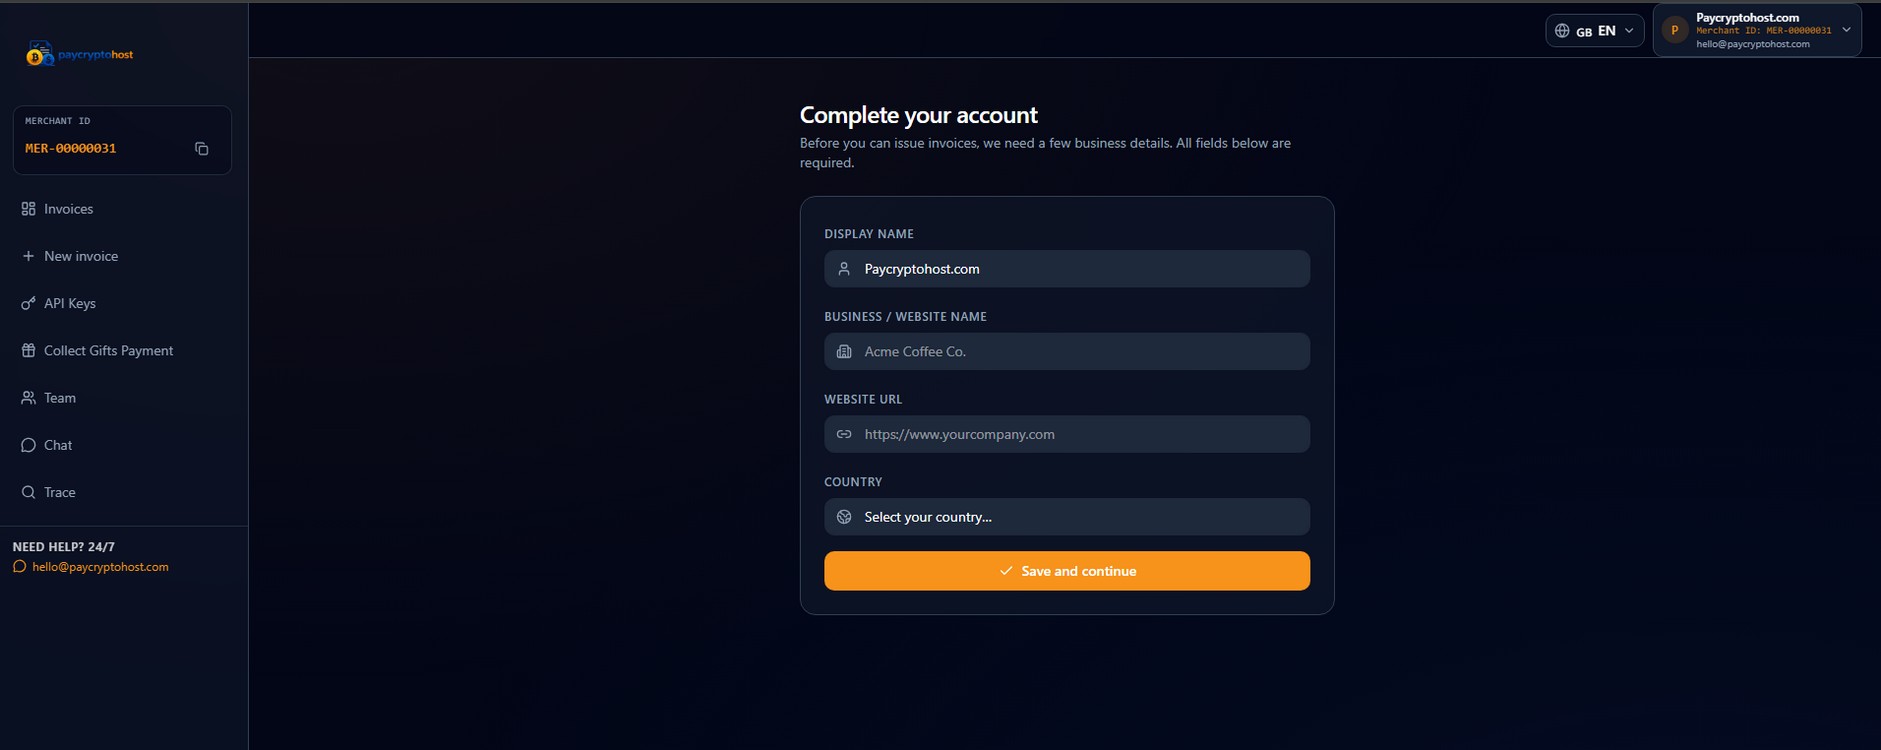
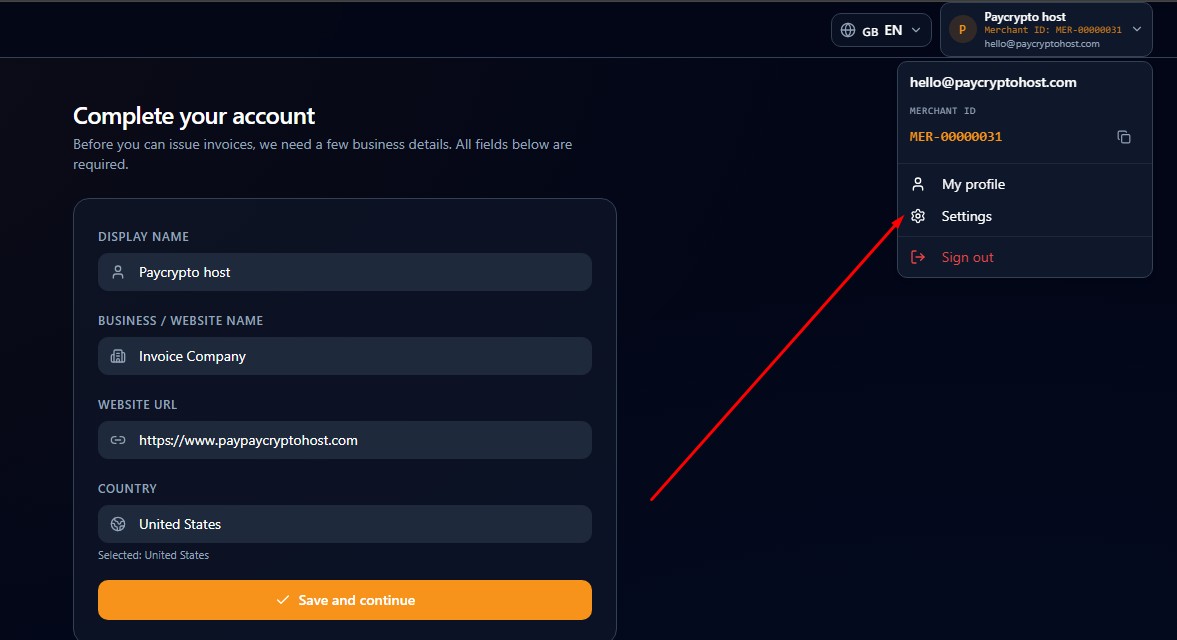
From your dashboard, open Settings in the top-right corner. Add your company logo, company name, and configure the coins you want to accept. Your logo and details automatically appear on every invoice you send.
3. Coin Setup — choose one
In the Coin Setup section you can choose between Single Coin Address or xPub Wallet setup.
Option A — Single Wallet Address
Works with most exchanges/wallets (Coinbase, Binance, Noones, LocalCoinSwap, Bisq, CoinFlip, Blockchain.com, and more). Open your wallet, go to Receive, copy the address, then paste it into the matching coin in Paycryptohost.
Example BTC address: bc1q7znc4uw0z6emdv3tn0lh9h7r7lsuqrw995ttmw
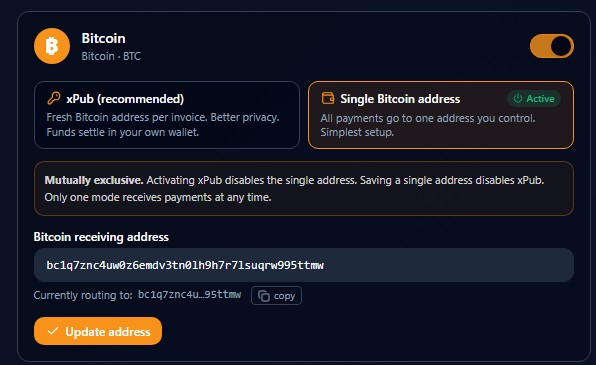
Option B — xPub Wallet (recommended)
An xPub generates a unique receiving address for every invoice — better privacy, organization, and payment tracking. Compatible wallets include Electrum, Sparrow, Ledger, Blockchain.com and BlueWallet.
In Electrum, go to Wallet → Information. Copy the Master Public Key into the xPub field, and copy the first receiving address into the first receiving address field.
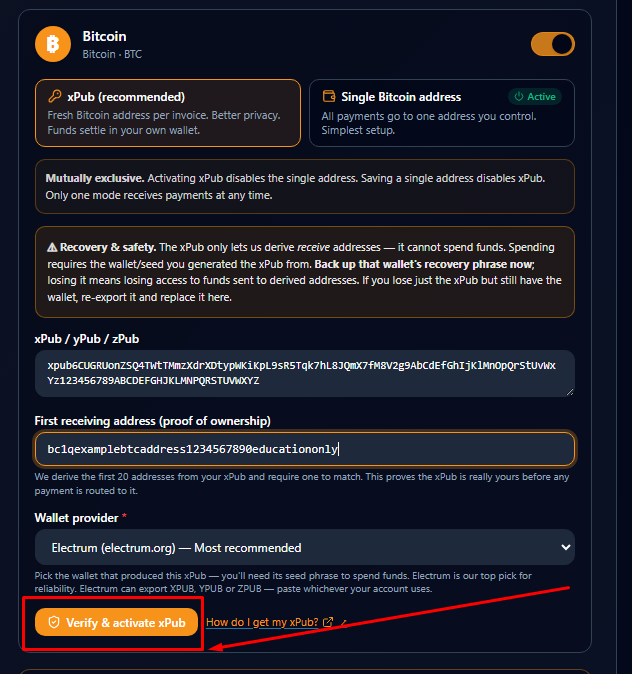
4. Verify & Activate
Click Verify and Activate. If everything checks out, your wallet is saved and activated automatically — you can start accepting payments right away.
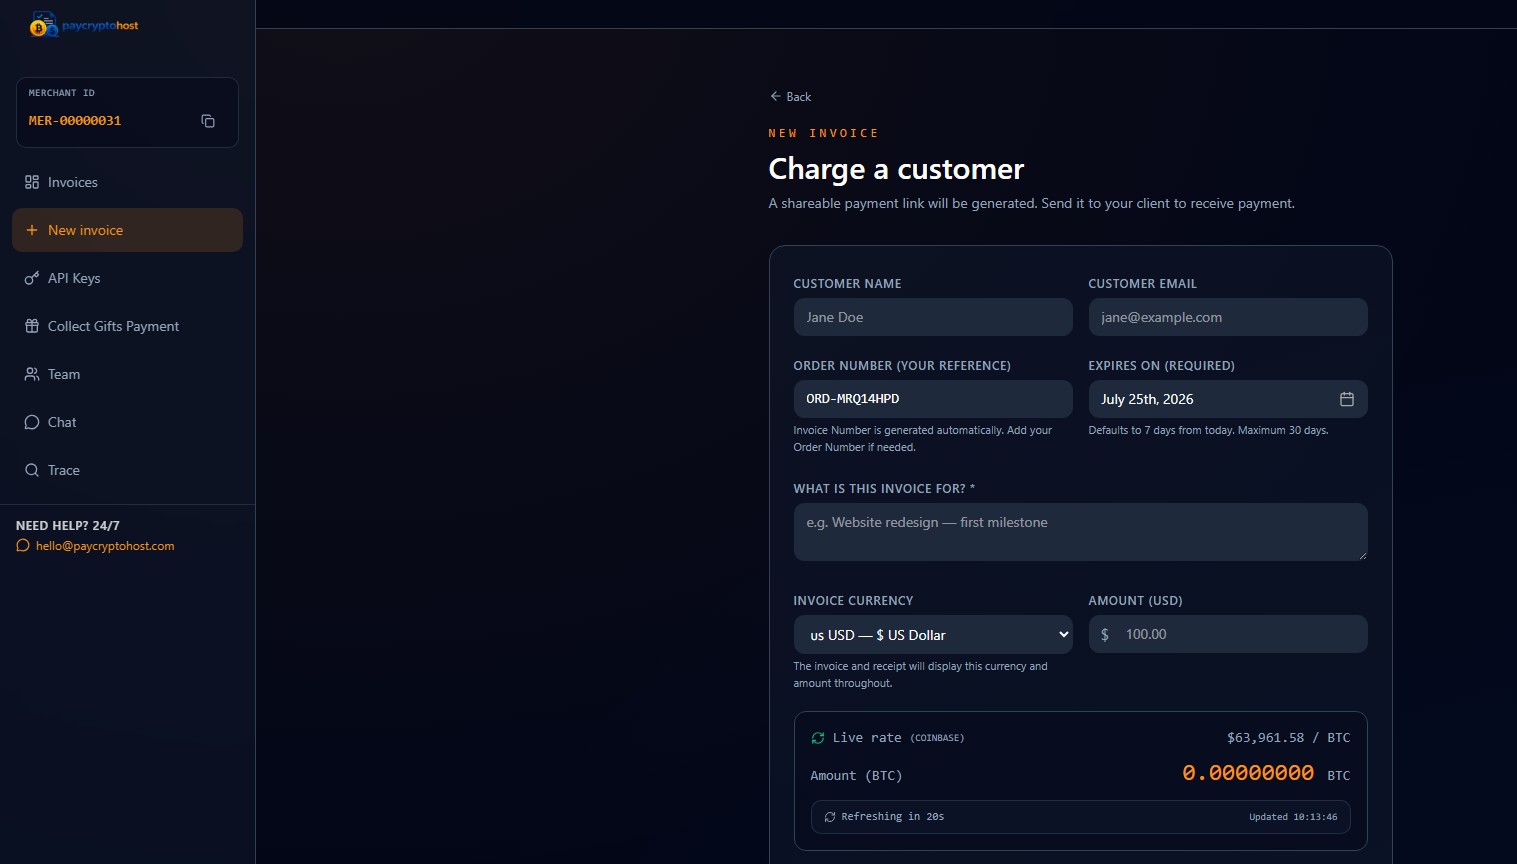
5. Create your first invoice
Head to the Invoices section and create your first invoice. Your clients receive a professional invoice showing your logo, company name & email, description, amount, and the coin they can pay with — then they pay directly from the link.